

Drywall Repair A Complete Guide for Homeowners and Professionals
Drywall repair is a core skill for anyone who maintains a home or works in interior repair. Whether it is a small nail hole caused by hanging a picture or a large opening left after removing an old fixture, a clean repair can restore both strength and appearance to a wall. This guide covers common problems causes tools materials and step by step methods so you can tackle drywall repair with confidence. For a broader range of home repair guides and how to resources visit fixolix.com to explore more topics.
What is drywall and why it fails
Drywall is a gypsum core board faced with paper on both sides. It is the most common wall material in modern homes due to cost and ease of installation. Damage occurs from impact water leaks settling cracks and routine wear. Understanding the cause helps you choose the right method for repair. For example water damage often requires removing and replacing affected sections to prevent mold while impact damage may be patched quickly if the framing and surrounding board are sound.
Common types of drywall damage
Knowing the type of damage makes the repair predictable. Common types include small surface holes such as those from nails or screws shallow dents or scuffs larger punctures from doorknobs and holes from removing hooks or anchors and long cracks that form where two panels meet or where framing shifts. Water damage often shows as soft bowed board or discoloration. Each type calls for a specific repair method to ensure a lasting finish.
Tools and materials you will need
Before you begin gather your tools and materials so the job proceeds smoothly. Typical items include a utility knife a sanding block or sanding sponge medium grit and fine grit drywall compound also called joint compound drywall tape paper or fiberglass mesh a putty knife in several widths a taping knife a trowel a drywall saw or jab saw and a replacement drywall patch if you are doing a large repair. You will also need primer and paint plus drop cloths and safety gear like goggles and a dust mask. Having the right tool for each step reduces time spent and improves the final result.
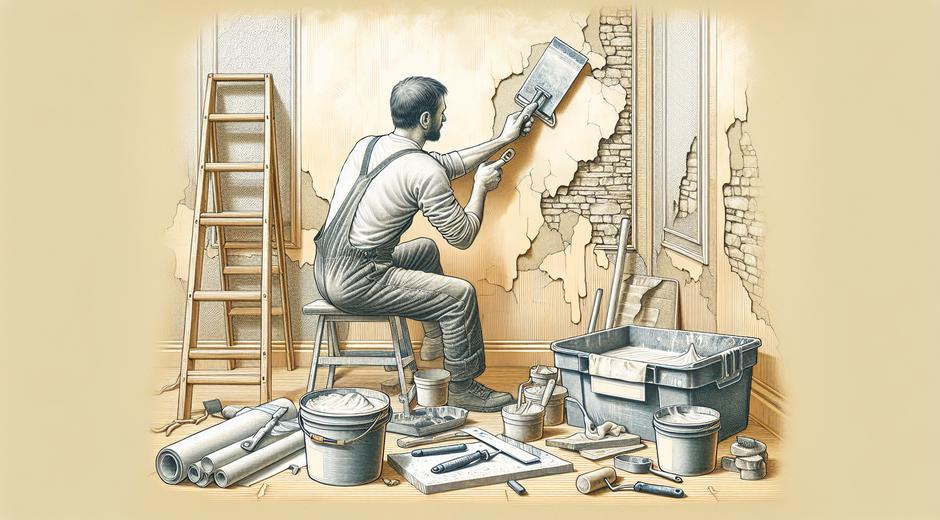
Small hole repair step by step
For holes less than the size of a nickel or even up to a quarter follow these steps. Clean around the hole removing loose paper and debris. Apply a small amount of joint compound with a narrow putty knife pressing into the cavity. Smooth the surface with the knife feathering the edges so the compound blends into the wall. Allow to dry then sand lightly with fine grit smoothing the repair. Apply a second thin coat if needed let it dry then sand again. Prime the spot to seal the compound and then paint to match the surrounding wall. Small repairs are quick and an excellent way to practice finishing techniques.
Medium hole repair step by step
Holes larger than a quarter and up to several inches often need a patch. For a quick fix use a self adhesive mesh patch centered over the hole. Apply a layer of joint compound over the patch using a taping knife to embed the mesh. Smooth to feather the edges. After drying sand lightly and apply a second coat to fully hide the mesh then sand prime and paint. For a stronger repair cut a backing piece of thin plywood or scrap drywall to fit behind the hole fasten it in place then screw a replacement piece of drywall to the backing. Tape the seams apply compound in three coats allowing each to dry and sanding between coats to create a smooth invisible seam.
Large section replacement and cut in place method
Large damaged sections require removing the affected area and replacing with a new drywall panel. Use a straight edge and a utility knife to cut out a clean rectangle that aligns with studs. Measure and cut a new drywall piece to fit then screw it to the studs. Tape the seams apply three coats of joint compound each wider than the previous to blend the joint. Sand between coats and finish by priming and painting. Take care to match the drywall thickness and to reinforce around openings for fixtures studs and electrical boxes.
Finishing texture and paint matching
Matching the wall texture is often the final challenge. Smooth walls require flat finishing while textured walls may need stipple knockdown or orange peel. Test texture on a scrap board first adjusting compound thickness and application method until you achieve a match. Use a primer to seal new compound before applying final paint. If you need tips on color selection and interior finish options consult a resource that covers paint and kitchen and bath details such as TasteFlavorBook.com which offers guidance that pairs well with repair work.
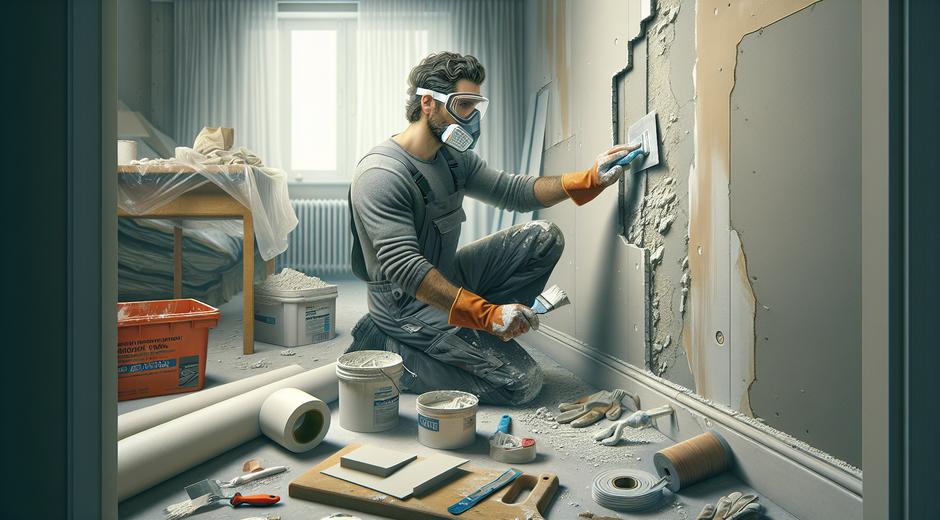
Safety tips and dust control
Drywall sanding creates a lot of dust. Wear a dust mask and goggles and protect the floors and furniture with drop cloths. Consider using a vacuum equipped sander or a sanding block attached to a vacuum hose to reduce airborne dust. Turn off heating or cooling systems to avoid spreading dust through ductwork. If you suspect mold or structural damage consult a professional before attempting repair.
When to hire a professional
Hire a professional when you see signs of extensive water damage mold or structural movement when repairs exceed your skill level or when you need a texture match that is difficult to replicate. Professionals bring tools and techniques that reduce repair time and provide a seamless finish. If the repair is part of a larger renovation hiring a contractor may be the most efficient approach.
Cost and time estimates
Small hole repairs often take under an hour and cost little more than a tub of joint compound and sandpaper. Medium patches require a few hours and modest materials while large section replacements can take a day or more including drying time for multiple coats. Labor costs vary by region but understanding the time and skills involved helps you decide between DIY and hiring help.
Preventive maintenance and long term care
Preventive care reduces future repairs. Avoid banging doors into walls use door stops secure anchors properly and address small leaks quickly. Keep indoor humidity in a normal range to avoid board swelling and warping. Inspect suspect areas periodically and perform small repairs promptly to avoid escalation. For additional how to guides and repair inspiration check the reference section at fixolix.com which offers many tips for home care projects.
Final tips for professional looking results
Patience matters more than speed. Allow joint compound to dry fully between coats sand with care and always prime before painting. Use quality tools and a good set of taping knives to get clean edges. If matching texture use small test patches to dial in the technique. With practice drywall repair becomes a routine task that saves money and keeps your interior looking fresh and sound.
Drywall repair is a manageable home skill that pays off in saved time and cost and in improved home appearance. Whether you are patching a small hole or replacing a large damaged section following the right steps and using quality materials will deliver durable attractive results.