

Skim Coating: The Complete Guide to Smooth Walls and Professional Finishes
What is Skim Coating and Why It Matters
Skim coating is a finishing technique used to create a uniform smooth surface on walls and ceilings by applying a thin layer of joint compound or plaster over the existing substrate. This process hides imperfections such as minor cracks, textured surfaces, and patches left from repair work. Proper skim coating transforms a rough or uneven surface into a pristine canvas ready for paint or wallpaper and is a foundational skill for anyone focused on high quality interior repair and renovation.
When to Use Skim Coating
Consider skim coating when your walls have uneven texture from old paint techniques or from previous patching. It is ideal for rooms that will receive glossy paint or where lighting may highlight surface flaws. Skim coating is also the go to method when you want to remove heavy texture without the mess of chemical strippers or aggressive sanding. For hobbyists and professionals alike skim coating provides a cost effective route to a premium finish.
Tools and Materials You Will Need
To complete a successful skim coating job you will need the right tools and materials. Typical items include a lightweight joint compound that dries smoothly, several taping knives in different widths, a hawk or mud pan, a mixing paddle, a power mixer or drill for larger batches, sanding tools with fine grit, and high quality dust protection. Good lighting and a steady work platform are also essential. Investing in quality tools reduces frustration and increases the chance of a flawless outcome.
Preparation Steps Before Applying the First Coat
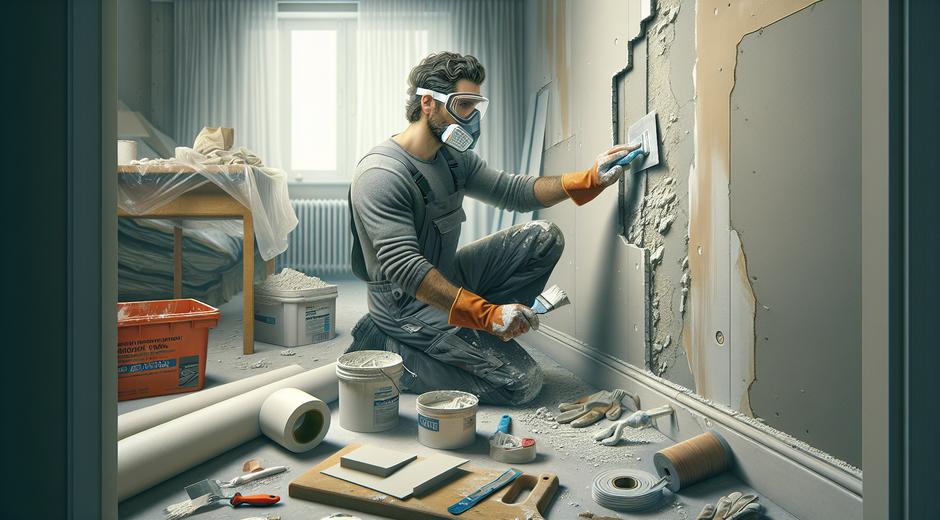
Preparation is the most important phase of skim coating. Begin by cleaning the surface to remove dust and loose paint. Repair deep holes and wide cracks with patching compound and allow full drying. Remove any loose texture or paint that might cause adhesion issues. Light sanding of glossy surfaces helps the compound adhere. Protect trim flooring and fixtures with drop cloths and tape. Taking time in preparation ensures that the skim coat bonds well and that the final result is smooth and long lasting.
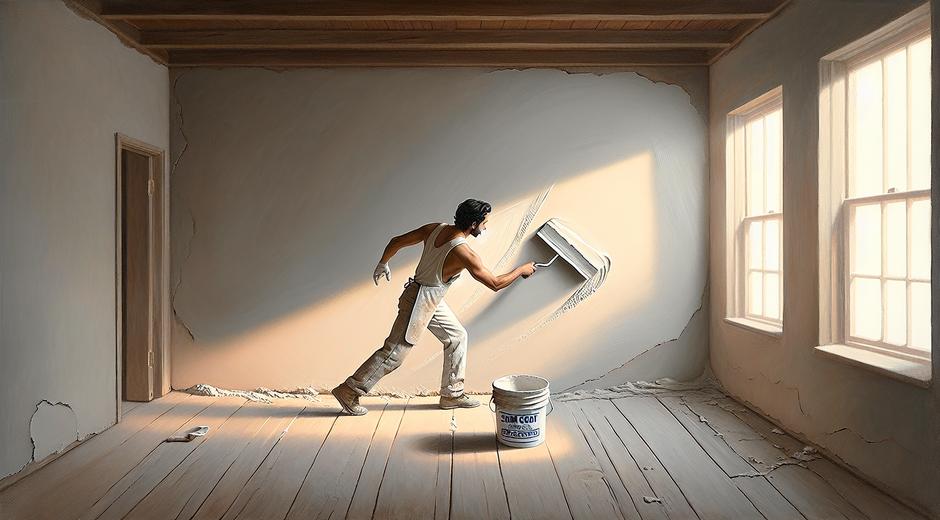
Step by Step Skim Coating Process
Follow these steps for consistent results. First mix the joint compound to a creamy but stable consistency. You do not want it too watery or too thick. Using a wide taping knife apply a thin coat across a manageable section of the wall. Spread the compound in wide sweeping motions to minimize ridges. Allow the first coat to dry completely. Lightly sand any ridges or high spots with fine grit sandpaper or a sanding block. Wipe away dust and apply a second thinner coat if needed. For most walls two coats are sufficient. For extreme texture removal you may need three coats with drying and light sanding between each application.
Sanding and Surface Finishing
After the final coat dries perform light sanding to feather edges and remove minor imperfections. Use a fine grit sandpaper or sanding sponge and avoid over sanding which can expose underlying texture. Clean all sanding dust from the surface before priming. A high quality primer seals the skim coat and improves paint adhesion. Choose a primer matched to the final paint type for the best result. Proper sanding and priming will make painting easier and will enhance the durability of the finish.
Common Mistakes to Avoid
Many beginners make a few predictable mistakes. Applying compound too thickly leads to cracking and long dry times. Not letting coats dry fully before sanding causes clogging and poor results. Skimping on sanding and primer causes the flaws to reappear after paint. Using the wrong compound for the environment such as a non mold resistant product in moist areas can lead to future problems. Take time to follow proper drying and sanding procedures to avoid these issues.
Tips for Faster and Better Results
Work in sections so each area can be smoothed efficiently. Keep your knives clean to avoid dragging dried bits across fresh compound. Use wider knives as you progress through coats to increase smoothness and reduce knife lines. If you want minimal sanding consider a final coat applied with a slightly thinner consistency which self levels slightly as it dries. Also maintain consistent room temperature and humidity as these factors affect drying times. Little adjustments in technique make a big difference in the final appearance.
Skim Coating Cost and Time Expectations
Skim coating cost varies with size of the area and condition of the existing surfaces. For a small room a diy project can take a weekend for two coats and basic sanding. For larger or heavily textured rooms expect to spend multiple days including drying time. Hiring a professional costs more but saves time and delivers consistent results especially for high profile rooms or when time is limited. Evaluate the scope of the job before deciding to diy or hire out.
Drying Times and Environmental Considerations
Drying time depends on compound type, coat thickness, temperature and humidity. Lightweight compounds dry faster than traditional versions. Ensure full drying between applications to prevent cracking. Avoid skim coating in very cold or very humid conditions. Good ventilation speeds drying but avoid strong direct drafts that can cause uneven drying. Monitor the conditions and plan accordingly to maintain quality.
When to Hire a Professional
Hire a professional if the surface has structural issues, if the space is large, or if you need a flawless finish for costly finishes such as gloss paint or decorative coatings. Professionals bring experience in mixing proportions application and finishing techniques that reduce rework. They also save time and provide warranty options for their work. For help with project planning and repair tips visit fixolix.com where you will find guides and product recommendations for wall finishing projects.
Finishing and Painting After Skim Coating
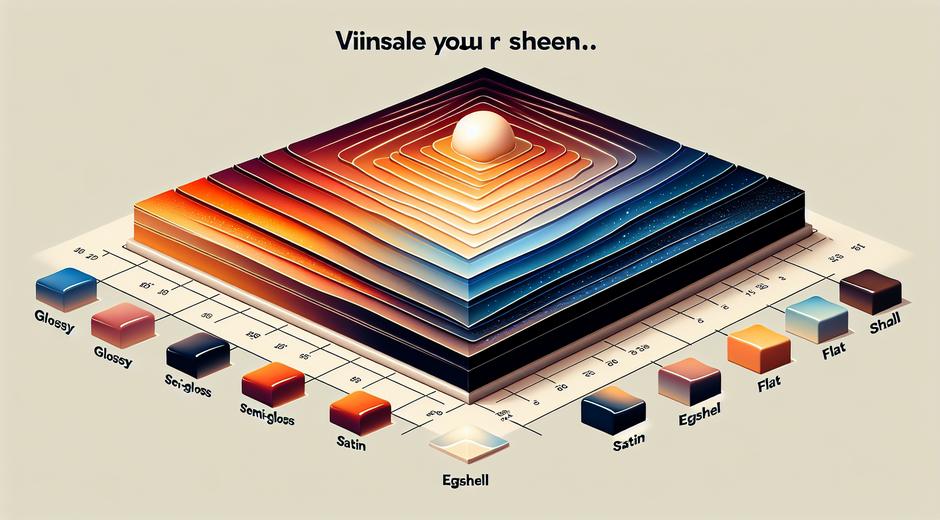
After sanding and priming choose a paint suited to the room use and lighting. Matte or low sheen finishes hide small imperfections better than high sheen choices. Use high quality roll brushes and a consistent technique to maintain the smooth look of your skim coat. If you want to explore related topics that fuse technology and interior trends visit GamingNewsHead.com for a surprising range of lifestyle and tech articles that sometimes touch on home and gear topics.
Final Thoughts and Next Steps
Skim coating is a high value skill that elevates interior finishes and increases the visual appeal of any room. With proper preparation the right tools and patient technique you can achieve professional looking walls. Start with small areas to build confidence and then take on larger rooms. Remember that patience with drying and sanding pays off in a superior surface. For more repair guides and tools check resources and keep practicing to refine your technique.
Skim coating rewards careful work with a dramatic visual improvement. Whether you are refreshing a single wall or preparing an entire home for new decor the right approach turns ordinary walls into a smooth lasting foundation for paint or wallpaper.