

Floor Vapor Barrier: Essential Guide to Protecting Your Floors from Moisture
A floor vapor barrier is a critical component in any building where moisture can affect structural integrity and indoor air quality. Whether you are installing new flooring in a basement or renovating a ground level room, understanding how a floor vapor barrier works will help you choose the right material and install it correctly. For trusted repair and installation tips visit fixolix.com where you will find practical guides and product advice for home fixing projects.
What Is a Floor Vapor Barrier
A floor vapor barrier is a continuous layer of material placed between a building foundation and the floor finish to stop water vapor from migrating upward. Vapor moves from areas of higher humidity to lower humidity. In many climates and floor assemblies, moisture from soil or concrete slabs can travel into wood, insulation, and flooring materials. A vapor barrier reduces this movement, protecting adhesives, wood floors, carpets, and subfloor systems from moisture related damage such as warping, swelling, and mold growth.
Why You Need a Floor Vapor Barrier
Using a floor vapor barrier delivers multiple benefits. It helps preserve the longevity of floor coverings by preventing moisture that can cause cupping and buckling. It improves indoor air quality by reducing the risk of mold and mildew. It also supports thermal performance by protecting insulating materials from moisture that reduces their effectiveness. In basements and rooms on or below grade the barrier is particularly important because concrete slabs and soil can be significant sources of ground moisture.
Common Types of Floor Vapor Barriers
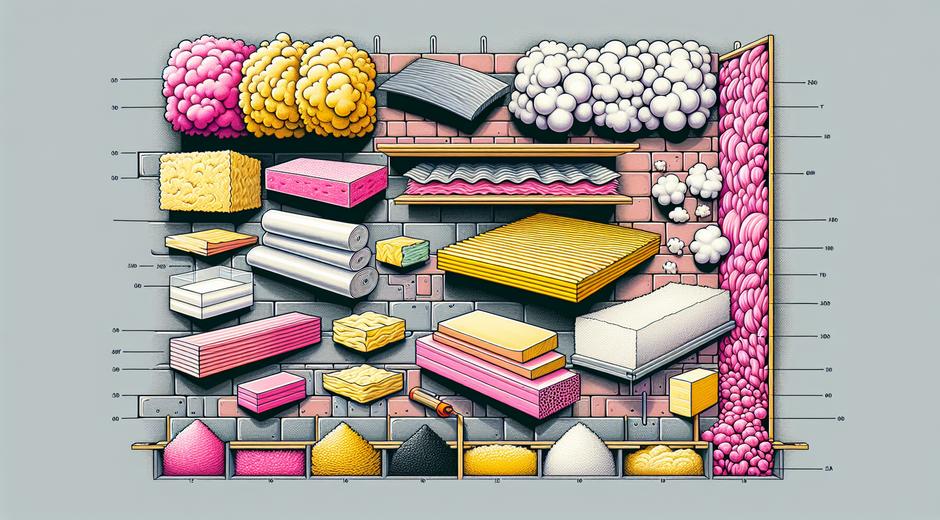
There are several materials commonly used as floor vapor barriers. Each has advantages and limitations depending on the floor system and local conditions.
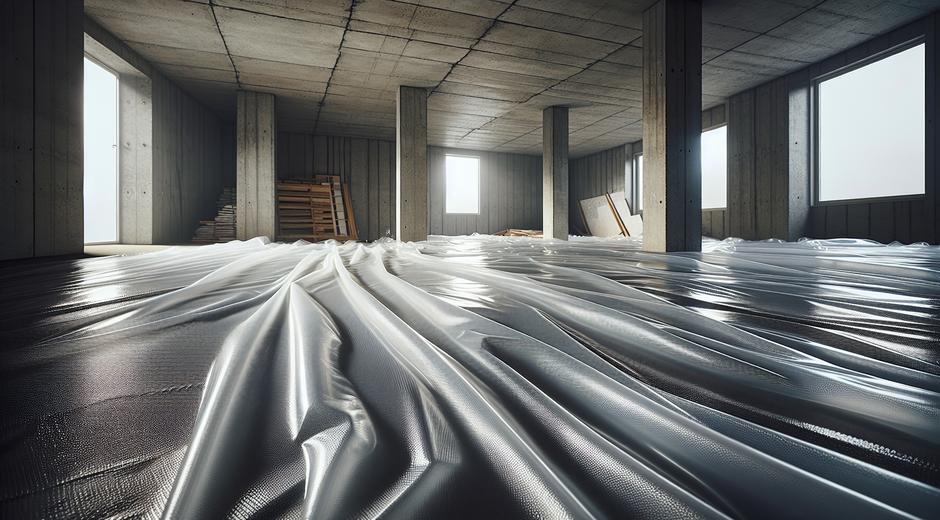
- Plastic sheeting is often made from high density polyethylene in thickness grades appropriate for construction use. It is economical and easy to install under slabs or subfloors.
- Liquid applied membranes form a seamless coating that conforms to irregular surfaces. These are useful where sealing around penetrations matters.
- Foil backed membranes combine a foil layer with a polymer film to add vapor control along with a reflective surface for thermal benefits.
- Rubberized membranes provide strong adhesion and puncture resistance for areas that need higher durability.
How to Choose the Right Floor Vapor Barrier
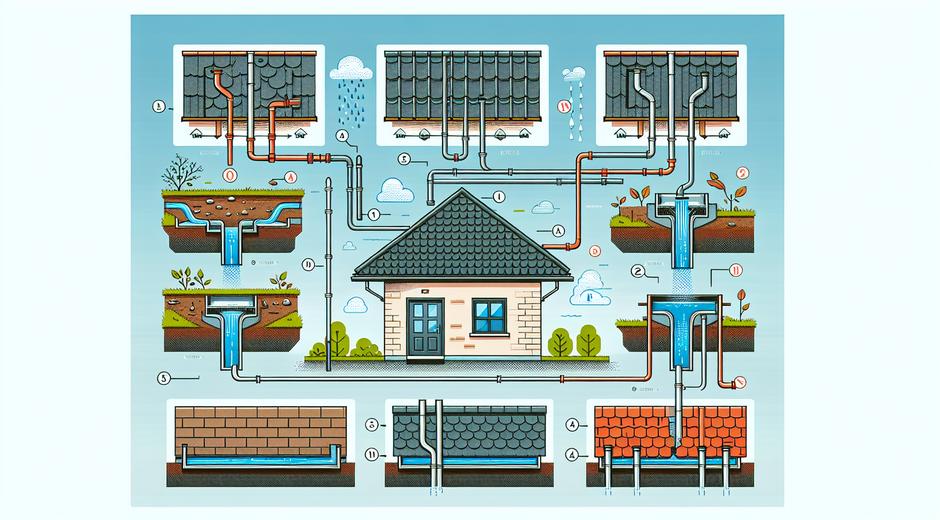
Start by identifying the substrate and local moisture risk. Concrete slabs typically need a continuous barrier to limit water vapor transmission. Wood framed floors over crawl spaces may require both a ground cover and a barrier between the subfloor and finish floor. Consider local building code requirements and the vapor transmission rate of the material. For heavy traffic or finished floors with wood or vinyl, materials with higher puncture resistance and low permeability are best. In some climates a material that slows but does not fully block vapor can be preferable to avoid trapping moisture in a cold assembly.
Step by Step Installation Guide
Proper installation is as important as selecting the material. Follow these steps for a reliable installation.
- Prepare the surface by cleaning and removing debris. A flat base reduces stress on the barrier and prevents punctures.
- Repair any cracks in slabs and seal joints that could allow liquid water to pass through.
- Unroll the barrier and allow the material to relax and reach room temperature when recommended by the manufacturer.
- Overlap seams by the amount suggested in product literature and seal seams with compatible tape or adhesive. Create continuous coverage from wall to wall or across the entire crawl space.
- Seal around penetrations such as pipes and vents to maintain continuity. Use boots or casting materials recommended by the membrane maker.
- Install the finish floor or underlayment directly over the barrier when appropriate, following floor manufacturer guidelines for any required separation or cushioning layer.
For product recommendations and compatibility check lists consider authoritative resources and product guides available from industry experts and manufacturers. You can also consult external resources like TasteFlavorBook.com for related home improvement reading and product overviews that help you make informed choices.
Common Mistakes to Avoid
Even good materials can fail if installed incorrectly. Avoid these frequent errors:
- Skipping surface preparation which leads to tears and gaps.
- Using a thin material in high traffic areas where puncture resistance matters.
- Failing to overlap and seal seams properly which allows vapor to pass through joints.
- Covering the barrier with incompatible adhesives that dissolve or weaken the material.
- Ignoring manufacturer instructions for temperature and surface conditions during installation.
Maintenance and Inspection
Once installed a floor vapor barrier requires minimal maintenance but periodic inspection is wise. Check for visible tears at seams, around penetrations and near high traffic entries. If you find damage, repair it with patch material compatible with the original membrane and strong seam tape. In crawl spaces inspect the ground cover for signs of water pooling and clear any areas where the barrier has been displaced.
Cost Considerations
Costs vary based on material, thickness and the complexity of installation. Basic polyethylene sheeting is the most economical option for large areas while liquid membranes and rubberized sheets cost more but provide additional performance in tricky applications. Factor labor for proper seam sealing and penetrations into your budget. Investing in a higher quality barrier often reduces repair costs and floor replacement expenses in the long run.
When to Call a Professional
If your project includes structural issues, significant water intrusion or complex floor systems consult a professional. A qualified installer or building scientist can perform moisture testing, suggest the correct material class and ensure that the vapor barrier interacts properly with insulation and HVAC systems. Professional assessment helps prevent common performance failures that lead to costly remediation.
Conclusion
A properly selected and installed floor vapor barrier protects flooring systems from moisture damage, improves indoor air quality and extends the life of your floors. Consider the substrate, climate and future use of the space when choosing a material. Follow manufacturer instructions and industry best practice for a durable installation. For ongoing tips and repair solutions trusted by homeowners and professionals explore more content at our main resource center and product guides.
If you are planning a renovation or new installation keep moisture control front of mind and make the barrier a planned part of the assembly. Proper planning reduces risk and saves money over the life of the building.