Tile Backer Board A Complete Guide for Durable Tile Installation
Tiling is one of the most effective ways to upgrade floors walls and wet areas in a home or commercial space. A key component that ensures a long lasting and stable tile surface is the tile backer board. This guide explains what a tile backer board is why it matters and how to select and install the right product for your project. The content that follows is geared toward both DIY enthusiasts and professionals who want reliable results and less repair work over time.
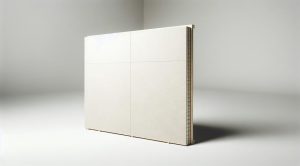
What is a tile backer board
A tile backer board is a substrate panel installed between the structural element such as plywood or concrete and the tile. It provides a flat stable surface that supports the tile and thin set or mortar. Unlike drywall plain backer boards are designed to handle moisture heavy loads and the point stresses that occur when grout and tile move slightly. Common materials include cement based panels fiberglass reinforced panels and other composite options that resist water and mold.
Why use a tile backer board
Installing tile directly onto standard drywall or wood without a proper substrate can lead to cracked tile loose grout and water damage. A tile backer board helps prevent those issues by providing:
- Stable support for tile that reduces cracking
- Improved moisture control in showers and wet rooms
- Better adhesion for thin set mortar and tile
- Enhanced long term performance and reduced maintenance
In short a backer board extends the life of your tile installation and lowers the risk of costly repairs days or years after installation.
Types of tile backer board
Choosing the correct type of tile backer board depends on the location of the tile and the level of moisture exposure. Common options are:
- Cement board Often used for floors showers and exterior tile this is heavy duty and very stable
- Fiber cement board A lighter option that blends cement with cellulose or synthetic fibers for easier handling
- Fiberglass reinforced panels These are lighter and more flexible while offering resistance to mold and moisture
- Foam backer board A lightweight alternative that is highly water resistant and easy to cut though it requires specific thin set and fasteners
Each product has installation recommendations from the manufacturer so always follow those instructions to ensure warranty compliance and best performance.
How to choose the right backer board
Selection should be guided by the project type and expected conditions. Consider these factors:
- Location Is the tile for a floor wall shower or exterior area
- Moisture level Will the surface be subject to regular water exposure
- Structural support The substrate below must be properly prepared for the chosen backer board
- Weight and handling Heavier boards like cement require more labor and stronger fasteners
- Cost and availability Balance budget with durability needs
For high moisture areas such as showers and steam rooms a cement based or fiberglass reinforced board is usually the best option. For dry interior walls lighter foam panels can offer performance plus ease of use.
Tools and materials needed
Before starting gather the proper tools and materials to reduce delays. Typical items include:
- Backer board panels cut to size
- Thin set mortar chosen for the backer board type
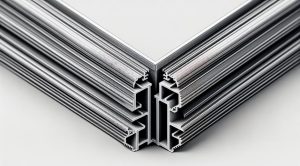
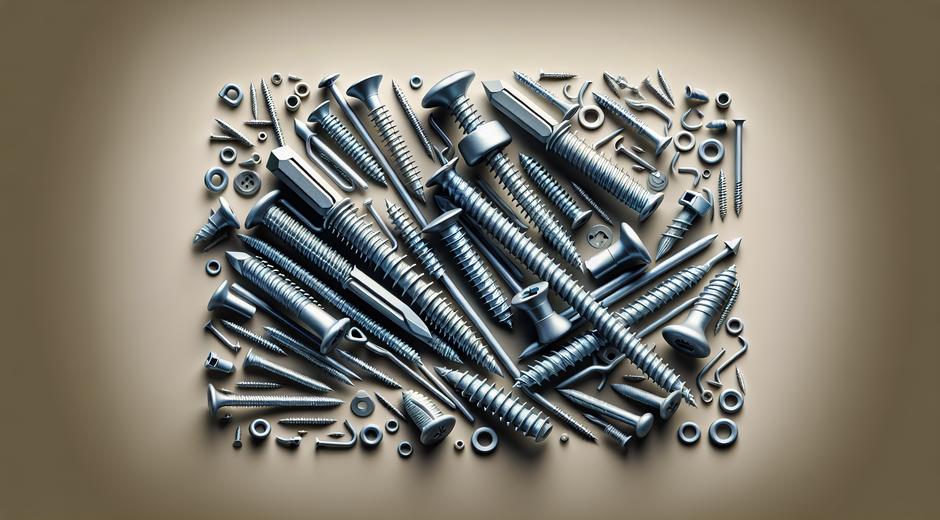
- Backer board screws or fasteners recommended by the manufacturer
- Glass tape or mesh tape for seams
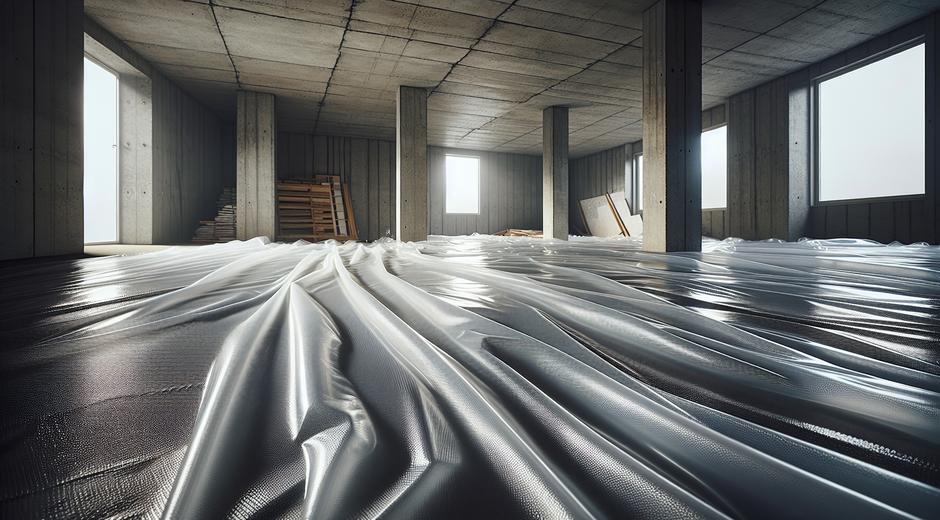
- Waterproofing membrane for showers and wet areas
- Trowels saw or scoring tool measuring tape straight edge and pencil
Having a helper is useful when lifting larger panels and ensures more accurate placement during installation.
Step by step installation guide
Follow these steps to install tile backer board effectively. The exact method varies by product so always check manufacturer guidelines first.
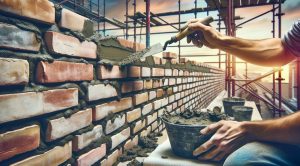
1 Prepare the substrate Ensure the surface is clean level and structurally sound. Clean away dust nails and loose material. Repair any damaged areas in the subfloor or wall framing.
2 Measure and cut panels Mark the backer board with a pencil and score along a straight edge then snap the panel for a clean cut. For circular cuts use a hole saw or jigsaw with the appropriate blade.
3 Apply thin set When required spread an even layer of thin set onto the substrate using a notched trowel. This bed helps fill gaps and provides a solid mortar bond for the backer board.
4 Place the panel Set the backer board into the thin set pressing firmly and making sure seams are tight but not crowded. Keep a small gap at perimeter joints for movement if recommended by the manufacturer.
5 Secure with screws Fasten the panel with backer board screws placed at manufacturer recommended spacing. Do not over tighten screws. They should be flush with the surface not countersunk.
6 Tape and treat seams Use alkali resistant mesh tape over seams then apply a layer of thin set or joint compound suitable for backer board to create a smooth continuous surface. For shower areas install a waterproofing membrane over seams and screw heads to prevent water intrusion.
7 Allow drying time Let mortar and any waterproofing cures fully before tiling. Follow drying times on product labels to avoid premature tile installation.
Common mistakes to avoid
Many tile failures stem from avoidable errors. Watch for these common pitfalls:
- Skipping the backer board and tiling directly onto drywall or raw plywood
- Using wrong fasteners that corrode or pull out over time
- Not applying waterproofing in wet areas leading to mold and decay
- Placing screws too close to edges which can cause cracking
- Rushing the curing process of thin set or waterproofing products
A careful methodical approach eliminates these risks and results in a tile surface that performs well for years.
Maintenance and repair tips
Tile installed over a proper backer board requires minimal maintenance. Keep grout sealed clean and inspect any caulked joints in showers periodically. If a section becomes loose or cracked remove the affected tile inspect the backer board and repair or replace as needed. With the correct initial installation future repairs are rare and usually straightforward.
Conclusion and further resources
A tile backer board is an essential part of any durable tile installation. It protects against moisture supports tile weight and helps prevent cracking and other common failures. By choosing the right product preparing the substrate and following proper installation steps you can achieve a professional quality outcome.
For more detailed guides tool recommendations and project ideas visit fixolix.com where you will find a library of articles across many fixing categories. For lifestyle tips and project inspiration check resources from allied publishers such as GamingNewsHead.com which sometimes feature home and hobby content that pairs well with renovation planning.