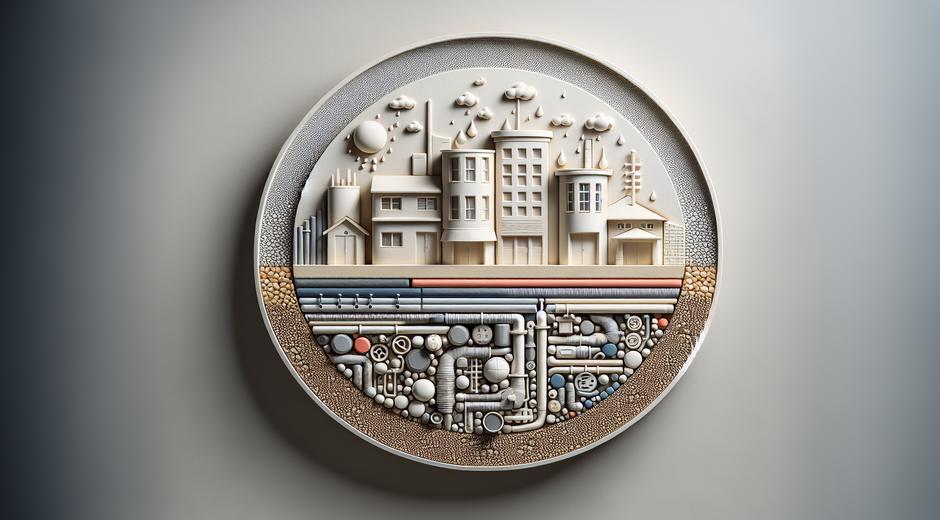


Masonry Anchors Guide: How to Choose Install and Maintain Anchors for Masonry Work
Masonry anchors are the backbone of any project that attaches fixtures to concrete brick or stone. Whether you are installing hand rails shelving facade elements or structural supports the right anchor ensures safety longevity and performance. This guide covers the most common masonry anchors how to choose the right one and best practices for installation and inspection. Use these insights to reduce failure risk save time and get reliable holding power in masonry substrates.
What Are Masonry Anchors
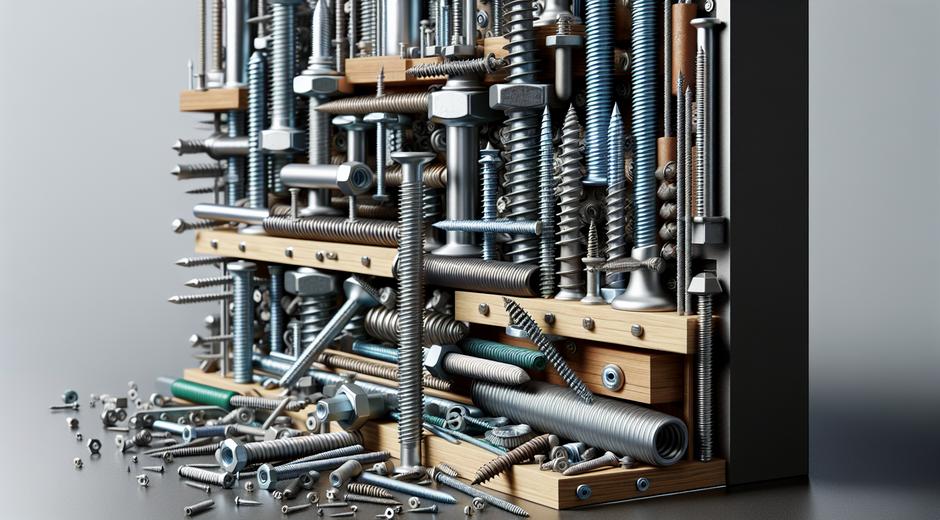
Masonry anchors are mechanical or chemical devices designed to transfer loads from a fixture into a masonry substrate. They come in many forms and rely on different holding principles. Mechanical anchors expand in drilled holes to grip the base material. Sleeve anchors wedge into the hole. Drive anchors use impact to set a portion into the masonry. Chemical anchors use a resin or epoxy to bond a threaded rod or rebar to the host material. Each type has advantages and limits depending on load type substrate condition and installation environment.
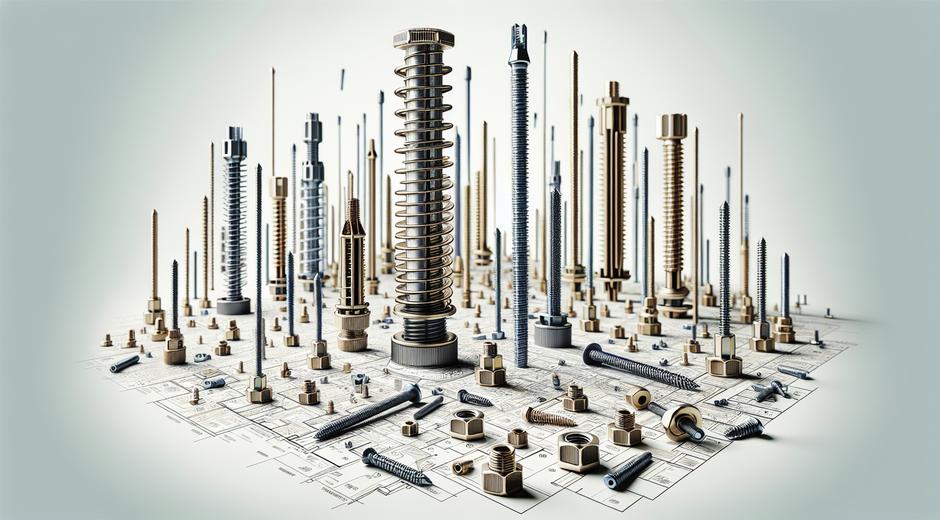
Common Types of Masonry Anchors
Understanding the common types makes selection easier. Here are the main categories used in most projects.
Expansion anchors Use a sleeve or cone that expands when tightened. They are popular for moderate loads and are often used with concrete block and solid brick.
Sleeve anchors Have a threaded bolt and an outer sleeve. When tightened the sleeve compresses and grips the hole walls. They are versatile for many applications.
Wedge anchors Are heavy duty mechanical anchors that provide strong holding in solid concrete. They are ideal for load bearing uses and where vibration is present.
Drive anchors Are quick to install and useful for light duty attachments. They are set by impact and are not recommended for critical loads.
Chemical anchors Provide excellent performance in cracked concrete or when maximum load capacity is required. Resin is injected into the hole and a threaded rod is inserted. Once cured the bond can exceed mechanical anchor capacity in some cases.
Threaded inserts and screw anchors Are used in hollow block or lightweight masonry. They allow repeated removal and reinstallation of fixtures.
How to Choose the Right Masonry Anchor
Choosing the right anchor requires attention to the substrate the expected loads environmental exposure and installation constraints. Follow these steps.
Assess the substrate Determine if the host material is solid concrete hollow concrete block clay brick or natural stone. Some anchors require solid material for proper performance.
Identify load types Consider tensile shear and combined loads. Tensile pulls perpendicular to the surface are different from shear loads that act parallel to the surface. Many anchors perform better in shear than in tension. For critical tension loads consider chemical anchors or heavy duty wedge anchors.
Size and depth Choose anchor diameter and embedment depth per manufacturer data for the required load. Greater embedment usually increases holding power but may not be possible for thin masonry elements.
Environmental factors Select corrosion resistant materials such as stainless steel for exterior applications or where moisture exposure is likely. Galvanized anchors may work in some settings but check manufacturers guidance for lifespan in the given environment.
Installation access Consider if you can drill straight holes or if space limits torque application. Some anchors need access to tighten the nut fully while others are impact set.
Step by Step Installation for Common Anchors
Proper installation is as important as anchor selection. Follow this general workflow for most masonry anchors.
1. Mark the fixture locations carefully and verify there are no hidden utilities. Use a center punch to help guide the drill bit if needed.
2. Choose the correct drill bit type typically a carbide tipped masonry bit. Match the bit diameter to the anchor manufacturer specification.
3. Drill to the proper depth. Use a depth stop or tape on the drill bit to ensure accurate embedment. Remove dust and debris from the hole. A clean hole ensures better contact and bond strength. Use a hand pump or compressed air or a brush to remove dust depending on site tools.
4. Insert the anchor or the resin as required. For chemical anchors follow the mixing and insertion instructions carefully. Insert the threaded rod or bar slowly while turning slightly to ensure even distribution of resin.
5. Allow cure time for chemical anchors per the temperature and hole size. For mechanical anchors tighten to the recommended torque using a torque wrench. Do not over tighten as this may damage the anchor or the masonry.
Tips to Maximize Holding Power
Small changes in preparation and installation can greatly improve performance.
Clean the hole thoroughly. Dust reduces friction for expansion anchors and reduces bond for chemical anchors.
Use the correct drill speed and pressure to avoid cracking brittle brick or stone.
Avoid installing anchors too close to edges. Edge distance limits holding capacity and increases risk of spalling. Use manufacturer charts to maintain minimum distances from edges and from other anchors.
Consider using backing plates or spreader plates for thin or hollow materials to distribute load across a wider area.
Common Mistakes to Avoid
Many failures occur from incorrect installation or selection. Avoid these common errors.
Using the wrong anchor for a hollow block is a frequent mistake. Mechanical expansion anchors often fail in hollow cores. Use anchors designed for hollow masonry or use chemical anchors with appropriate sleeves.
Neglecting to clean drilled holes leads to reduced capacity.
Over tightening can shear threads or crack the masonry while under tightening can allow movement and eventual failure.
Ignoring environmental conditions such as freeze thaw cycles and corrosion can shorten anchor life. Choose materials and protective measures accordingly.
Inspection and Maintenance
Regular inspection prevents unexpected failures. Check anchor tightness visible corrosion and any signs of movement or cracking around the fixture. Tighten loose connections and replace any corroded anchors with improved materials.
For critical structural anchors schedule periodic checks and document findings. In cases where anchors show deterioration consider retrofit options such as enlarging holes to install chemical anchors or using through bolts with backing plates to bypass compromised masonry.
Using Masonry Anchors in Renovation Projects
Renovation projects often present unique challenges like unknown substrate condition and the presence of cracks. For these jobs chemical anchors often provide more reliable performance because they can bond to irregular surfaces and bridge small cracks. When vintage masonry is involved test the material strength before committing to heavy anchors.
If you need detailed guides charts or tool lists for projects of any scale visit fixolix.com for a rich library of repair and installation resources. This resource helps both professionals and DIY enthusiasts select the right anchors and tools for specific masonry types.
Special Cases and Advanced Tips
For seismic zones or where dynamic loads are expected consult structural guidance and use anchors tested for the specific load case. Consider using redundant anchors where possible so a single failure does not create a hazard.
When installing anchors near utilities or embedded elements use scanning tools and careful probing. In some situations through bolting that transfers load to a backing element provides greater safety than relying solely on the masonry surface.
For high strength demands consider combining mechanical anchors with epoxy bonding or using high strength threaded rods designed for anchoring.
For tool recommendations parts ratings and maintenance tips for hardware related to vehicles and workshop equipment check this automotive resource AutoShiftWise.com which often shares useful tool reviews and procurement tips that translate well to shop and site use.
Conclusion
Masonry anchors are essential components in many construction and installation tasks. The right anchor combined with proper hole preparation correct installation torque and routine inspection leads to safe durable results. Always follow manufacturer data and current building guidance for critical projects. For practical reference charts installation checklists and project ideas explore the resources available on our site and partner sites to build confidence in every masonry anchor decision you make.