

Floor Transition Strips A Complete Guide for Seamless Flooring
Floor transition strips are small but essential elements that create a smooth visual and physical connection between two different flooring surfaces. Whether you are joining hardwood to tile or laminate to carpet these strips protect edges prevent tripping hazards and provide a polished finish to any room. In this guide we cover everything from materials and styles to installation and maintenance so you can choose the right transition for your project.
What Are Floor Transition Strips and Why They Matter
Floor transition strips are lengthwise pieces installed at junctions between different flooring types or between rooms. They serve several functions. They hide edge imperfections protect the ends of flooring materials and accommodate small height differences. Good transitions improve safety by reducing the risk of trips and falls. They also contribute to the visual flow of interior design by creating a neat border or by blending two surfaces in a harmonious way.
Common Types of Floor Transition Strips
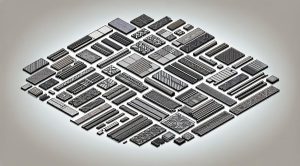
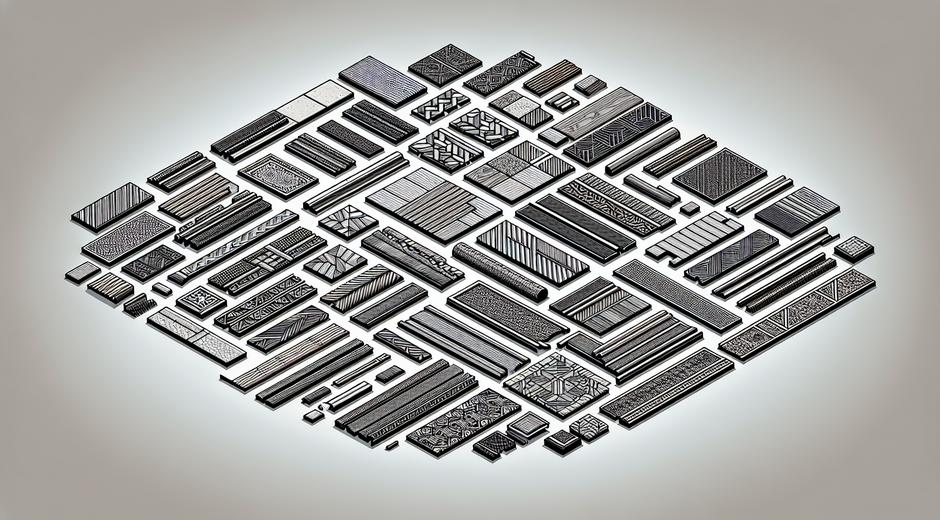
Understanding the common types helps you pick one that suits both the functional needs and the aesthetic of your space. Each type is designed for specific conditions.
Threshold style strips are used at doorways and often have a slightly raised profile to cover gaps and secure both floors. T bar strips are ideal where two floors are at the same height. They fit into a gap and bridge the two surfaces. Reducer strips are used where one floor is higher than the other to provide a gentle slope. Carpet transition strips clamp and secure carpet edges keeping them flat and durable. End cap strips provide a clean finish where flooring meets a vertical surface like a wall or sliding door track.
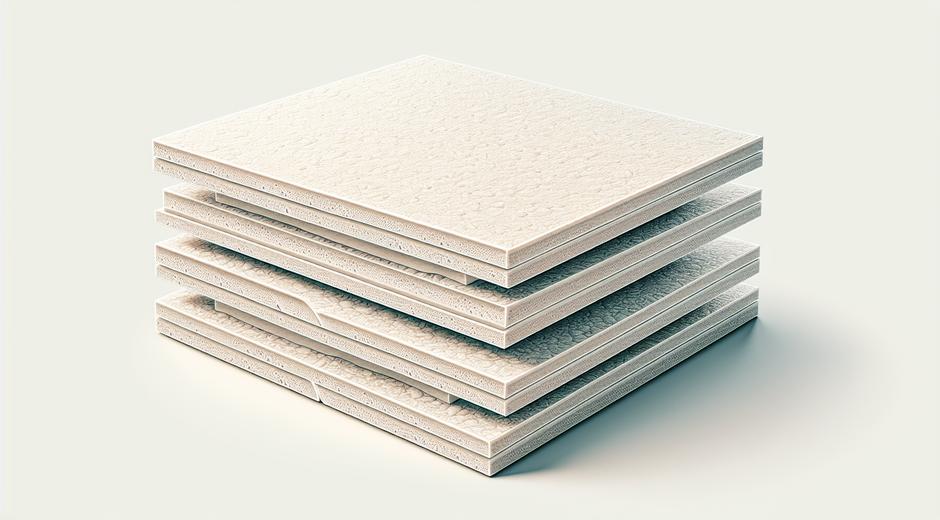
Materials and Finishes for Durability and Design
Transition strips are available in a range of materials each offering a unique balance of strength and style. Aluminum is popular for its strength and modern metallic finish. It resists wear and is a good choice in high traffic areas. Brass provides a warm tone and ages gracefully with a patina. Wood strips are matched to hardwood floors for a seamless natural look. PVC and vinyl are cost effective and available in many colors and patterns making them suitable for budget projects or utility areas. Rubber strips offer flexibility and excellent slip resistance useful for commercial settings.
How to Choose the Right Floor Transition Strip
Selecting the right strip depends on four main factors. First consider the height difference between the two floors. For level surfaces choose a T bar for minimal visual impact. For a height change select a reducer or threshold to ensure a smooth slope. Second think about traffic and durability. For heavy foot traffic or commercial use favor metal or rubber. Third match the aesthetic. Choose a wood finish for natural floors or a metal finish for modern interiors. Fourth evaluate installation method. Some strips require adhesives others use screws or a track system. Choose an installation method that suits your skill level and the base surface.
Measuring and Preparing for Installation
Accurate measurement is one key to a professional result. Measure the length of the doorway or seam and purchase a slightly longer strip that can be trimmed down. Check the height at multiple points across the seam since floors may not be perfectly even. Remove any old molding and clean the seam thoroughly removing dust and debris. If you need a sub layer or leveling compound apply it and allow it to dry fully. For floors that expand and contract leave a small gap near the wall as recommended by the flooring manufacturer.
Step by Step Installation Tips
Installation varies by type but follows common principles. For track based systems fix the aluminum track to the sub floor using screws at recommended intervals. Snap the transition strip into the track ensuring it sits flush. For adhesive based strips apply high quality flooring adhesive evenly and press the strip in place using a weighted roller. For strips that are screwed down pre drill holes in the strip and use screws suitable for the substrate. When trimming metal strips use a hacksaw and smooth the cut edge with a file. For wood strips use a fine blade saw and sand the cut for a clean finish. Always follow manufacturer instructions and use protective equipment such as safety glasses and gloves.
Maintenance and Repair
Maintenance of floor transition strips is simple. Regular cleaning with a damp cloth removes dust and spills. For metal strips a mild cleaner will preserve the finish. Wooden strips can be refinished with matching stain and sealed with polyurethane if they show wear. If a strip becomes loose remove it clean the substrate apply fresh adhesive or replace the screws. For small dents in metal strips light hammering from the underside can restore shape. For worn pieces replacement may be the most cost effective option especially when matching a new finish to existing flooring.
Cost Considerations and Value
Costs vary based on material style and length. PVC and vinyl are the most affordable options while custom wood and high quality brass rank at the higher end. Consider the lifecycle cost not just the upfront price. Durable strips reduce maintenance and replacement expenses over time. For large projects buying in bulk can reduce per foot costs. If you are unsure which option provides the best value consult with a flooring specialist or explore project guides and product reviews to compare performance across price points.
Where to Find Reliable Products and Advice
Buying from reputable suppliers ensures consistent quality and warranty support. For practical guides and product recommendations consider reading expert articles and community forums. For general home improvement resources visit fixolix.com where you will find tutorials and tips across a range of fixing categories. For business and supplier level information about flooring products consider networking at industry forums such as BusinessForumHub.com to discover wholesalers and trade offers.
Common Mistakes to Avoid
Avoid cutting corners. Do not ignore height differences and force incompatible materials together. Skipping proper substrate preparation leads to loosening and visible gaps. Do not use the wrong adhesive because it can cause strip failure or damage to flooring. Avoid mismatching styles that draw attention to transitions instead of creating a cohesive flow. Taking the time to match material and profile and following installation guidance will prevent these common problems.
Final Thoughts
Floor transition strips are a small investment that delivers major benefits for safety durability and appearance. With the right choice of material profile and installation method you can achieve a seamless look that enhances your space and protects your flooring. Whether you are replacing worn strips or finishing a new installation the information in this guide will help you make confident decisions. For detailed project tutorials product comparisons and tool recommendations explore expert resources and community discussions to support a successful outcome for your flooring project.