

Exterior Sealants A Complete Guide for Home Owners and Pros
Exterior Sealants are a key element in protecting building envelopes from water intrusion UV exposure and energy loss. Whether you are a home owner a maintenance pro or a property manager understanding how to choose prepare and apply exterior sealants extends the service life of cladding windows doors and joints. This guide covers types selection criteria surface preparation application techniques curing tips and maintenance best practices so you can get reliable long lasting results.
Why Exterior Sealants Matter
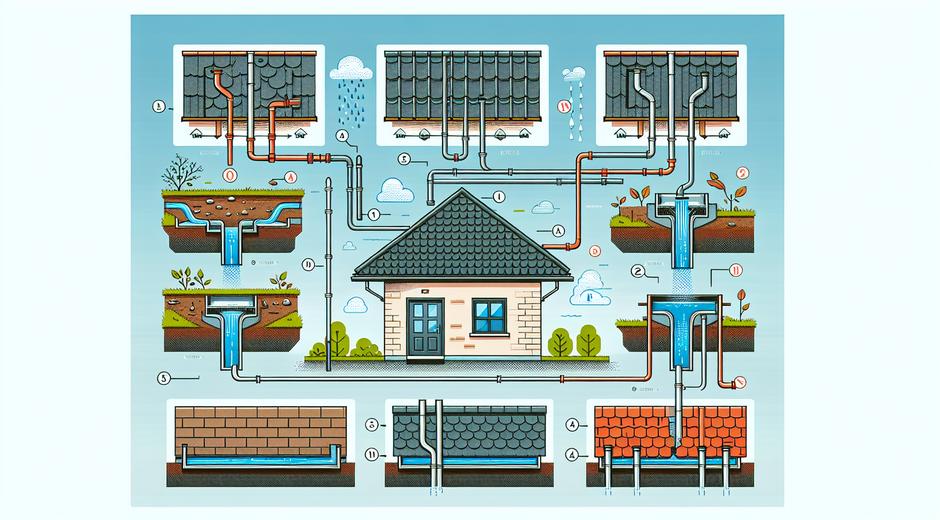
Good exterior sealant performance prevents moisture from entering wall assemblies where it can cause rot corrosion mold and insulation loss. Proper sealing also improves thermal comfort and reduces heating and cooling cost by limiting air leaks. For visible joints such as around windows or trim the right sealant also contributes to curb appeal and protects finish materials from premature failure. Investing time in correct selection and application pays off with fewer repairs and lower life cycle cost.
Common Types of Exterior Sealants
Choosing the correct chemistry depends on the substrate movement expected exposure to UV and temperature range and paint ability requirements. Common options include:
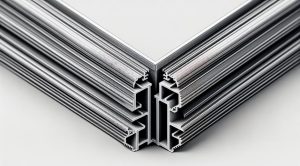
- Silicone sealants offer excellent UV resistance and long term flexibility. They are highly durable but many silicone products do not accept paint well.
- Polyurethane sealants bond well to many substrates and tolerate movement. They are paintable and are commonly used on masonry and concrete.
- Hybrid polymer sealants combine advantages of silicone and polyurethane with strong adhesion and paint ability.
- Acrylic sealants are low cost and easy to tool but have limited movement capacity and may not perform well on wet surfaces.
Each type has trade offs. For high movement joints near windows or corners silicone or high quality hybrid products are often preferred. For joints that must be painted a polyurethane or acrylic based product may be better suited.
How to Select the Right Exterior Sealant
Selecting the right exterior sealant involves evaluating several factors. First identify the materials to be sealed and check manufacturer recommendations for adhesion. Consider joint movement expectations and choose a sealant with appropriate elongation and recovery properties. Check UV resistance and temperature use range for your climate. If you plan to paint the sealant verify paint ability. Finally assess expected exposure to water standing moisture and chemicals.
For example in coastal locations with salt spray you want a product that resists degradation from salt and ultraviolet rays. In cold climates ensure the product cures at low temperature and remains flexible in subzero conditions. When working with porous substrates choose a product that tolerates moisture or use a primer to promote adhesion.
Surface Preparation Best Practices
Surface preparation is the foundation of durable sealing. Clean all surfaces to remove dirt old sealant and loose material. Use appropriate cleaners that do not leave residues. For porous substrates consider mechanical cleaning such as brushing or light grinding. Always allow surfaces to dry to the extent recommended by the sealant manufacturer. On some materials a compatible primer will dramatically improve bond strength and reduce risk of failure. Tape the joint edges for neat tooling and remove tape while the sealant is still gel like to leave clean lines.
Application Techniques for Long Lasting Results
Applying sealant correctly ensures performance and appearance. Cut the nozzle to match the joint width and load the cartridge into a gun that provides steady pressure. Fill the joint completely and tool the sealant to ensure contact with both sides of the joint and to remove trapped air. In joints with depth greater than recommended use a closed cell backer rod to control depth and help the sealant remain within the movement capability.
Tooling should be done within the working time of the product. Smooth tooling improves adhesion and produces a professional finish. Observe recoat intervals if multiple layers are required. For large jobs follow continuous application strategies to avoid cold seams that create weak points.
Curing and Drying Considerations
Curing for many exterior sealants is moisture driven while others cure by solvent evaporation or chemical reaction. Expect a skin to form on most products within a few minutes to hours but full cure can take several days to weeks depending on temperature humidity and joint size. Low humidity and low temperature slow cure. Plan projects to avoid trapping moisture behind uncured sealant and protect newly sealed joints from rain or contact until they are cured to avoid adhesion loss.
Maintenance and Inspection Tips
Regular inspection extends the life of sealants. Check sealed joints annually and after severe weather events. Look for cracks loss of adhesion or hardening. Small repairs can be made by removing failed sealant and resealing the joint after proper preparation. When replacing large areas remove old material to a solid substrate and confirm compatibility of the new product with surrounding materials. Good maintenance prevents costly water damage and keeps buildings looking cared for.
Common Mistakes to Avoid
Many failures are avoidable by following tested practices. Avoid sealing over dirt paint or oily residues. Do not use interior grade products outdoors as they lack UV resistance. Do not overfill deep joints without a backer rod as this leads to three sided adhesion and premature failure. Avoid painting sealants that are not paintable. Finally do not assume one product fits all applications. Matching product properties to joint needs is essential.
Sustainability and Eco Friendly Options
As environmental concern grows look for low volatile organic compound products and environmentally responsible manufacturers. Some modern sealants offer comparable performance with lower emissions making them better for interior work near living spaces and better for installer health. Proper longevity also reduces waste by decreasing how often joints need replacement.
Tools and Accessories That Make Jobs Easier
Having the right tools improves speed and quality. Use a reliable caulking gun with good flow control a selection of nozzle sizes and quality backer rods to set joint depth. Good quality masking tape helps produce clean lines and silicone tool kits assist in smooth finishing. For large jobs consider powered guns that reduce fatigue and improve uniformity.
Cost Considerations and Value
Sealant cost varies by chemistry brand and performance. While high performance materials carry a higher initial cost they often last longer and reduce life cycle expense. Factor in labor time surface preparation and expected service life when evaluating options. Many property managers find that investing in better sealant reduces repair frequency and increases tenant satisfaction which justifies the cost.
Where to Learn More and Find Products
For comprehensive resources on repair strategies product listings and professional grade materials consult reputable industry sites and suppliers. For general fixing guidance and category insights you can visit fixolix.com for articles and how to content. If you are sourcing property specific exterior materials consider checking suppliers who focus on building envelopes and home improvement such as MetroPropertyHomes.com which lists product options and contractor resources.
Summary
Exterior Sealants are a critical but often overlooked part of building maintenance. Choosing the right chemistry preparing surfaces correctly applying the product with care and performing routine inspections will keep joints watertight and flexible for years. By focusing on selection based on movement UV exposure and paint ability and by using proper tools and techniques you can maximize performance and reduce long term cost. Proper sealing protects your investment and keeps buildings healthy safe and efficient.