

Complete Guide to Plaster Repair for Homeowners and Professionals
Plaster repair is an essential skill for maintaining the beauty and durability of interior walls and ceilings. Whether you are dealing with small cracks from settling or larger areas damaged by moisture, a reliable plaster repair approach can restore surfaces to a smooth and stable finish. This guide covers causes of damage, tools and materials you will need, step by step instructions for common repairs, cost and time estimates, and tips to prevent future damage.
Why Plaster Repair Matters
Plaster remains a preferred wall finish for many older and high quality homes because of its strength and sound insulation qualities. When plaster begins to crack or crumble, it not only looks unattractive but can allow moisture and pests to affect the structure behind the wall. Timely plaster repair preserves property value and prevents small issues from becoming larger projects that require more invasive work. For helpful resources about home repair and maintenance, visit fixolix.com which covers a broad range of fixing topics.
Common Causes of Plaster Damage
Understanding why plaster fails helps you choose the best repair method. Common causes include settling that creates hairline cracks, impact damage from furniture or accidental knocks, moisture infiltration from leaks that leads to soft or crumbling plaster, and poor original application that results in weak areas. Temperature changes and vibration from nearby construction or heavy traffic can also cause cracking over time.
Tools and Materials You Will Need
A successful plaster repair job depends on choosing the right tools and materials. For most small to medium repairs you will want a putty knife, plaster hawk or mud pan, plastering trowel, sanding block, clean brushes, and protective gloves. Materials vary by job and may include ready mixed plaster patch, joint compound, bonding agent, fiberglass mesh tape for reinforcing larger cracks, and primer and paint to finish. For specialty plaster systems or historic plaster, consult a professional for compatible materials. For product recommendations and additional supplies see the online store at Zoopora.com.
Assessing the Damage
Before beginning a plaster repair start with a careful inspection. Tap the area gently with a small tool to detect hollowness that indicates delamination. Look for staining or blistering that points to moisture. Measure the size and depth of cracks and note if they follow straight lines along trim or run in a web pattern. Small hairline cracks under a quarter inch wide can usually be filled directly. Larger cracks, loose sections, or areas with underlying moisture will require more preparation and sometimes removal of damaged plaster back to a firm base.
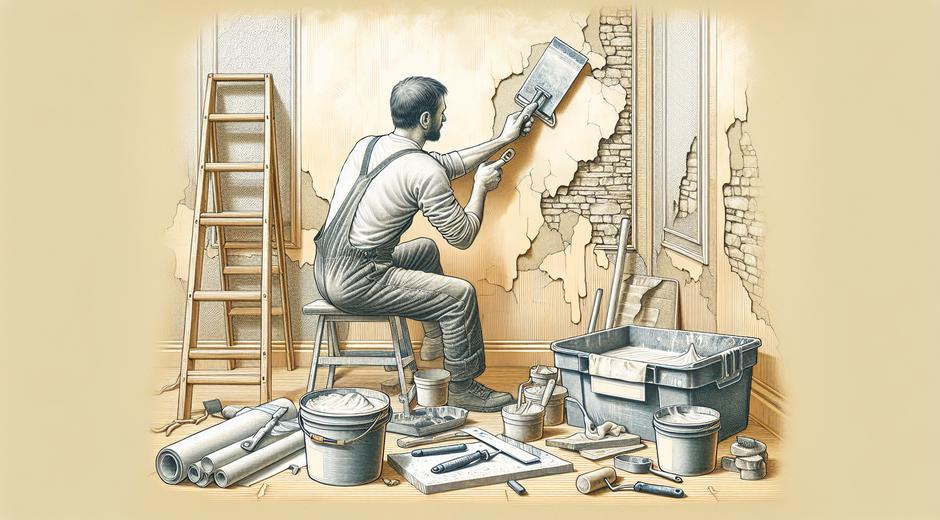
Step by Step Plaster Repair for Small Cracks
Small surface cracks are the most common repair many homeowners can handle. Begin by widening the crack slightly using a sharp utility knife or a small chisel to create a V shaped groove. This provides a clean edge and allows the patch material to key into the wall. Clean the groove of dust and debris using a brush or vacuum. Apply a bonding agent if the product instructions recommend it. Fill the groove with a plaster patch or joint compound using a putty knife. Smooth the surface flush with the wall and allow it to dry fully. Lightly sand the repaired area to blend it into the surrounding surface. Prime and paint for a seamless finish.
Repairing Larger Holes and Delaminated Plaster
For holes larger than a couple of inches or areas where plaster has separated from its backing you will need to remove loose material until you reach solid plaster or lath. Clean the area thoroughly. Use fiberglass mesh tape to bridge gaps and provide reinforcement. Apply a base coat of plaster or a patching compound in layers allowing each layer to set partially before adding the next. Feather the edges so the new plaster blends into the original surface. For areas where plaster has pulled away from wood lath, you may need to secure the lath with screws and washers or use plaster washers that pull the plaster back tight to the lath. Take your time with layering and drying to avoid future shrinkage or cracking.
Dealing with Moisture Related Damage
When moisture is the cause of plaster failure locating and fixing the source is vital before making repairs. Inspect for roof leaks, plumbing problems, or condensation issues. Replace any rotted lath or wallboard. Use a moisture resistant substrate if the area is prone to dampness. After repairs are complete ensure the area is fully dry prior to applying final coats or paint. Mold remediation may be required for severe cases and a professional may be the safest choice for extensive moisture damage.
Finishing Techniques for a Professional Look
A smooth finish requires careful sanding and the right choice of primer and paint. Use fine grit sanding to blend patches without removing too much material. Apply a primer that matches the type of finish you plan to use. For older plaster surfaces a breathable primer helps prevent trapping moisture. Choose a paint sheen that matches the surrounding wall. For textured finishes replicate the texture pattern before the patch dries completely or use a texture spray made for wall repair.
When to Call a Professional
Not all plaster repair is suited for a DIY approach. Structural cracks that run vertically or diagonally through multiple walls may indicate foundation movement and should be inspected by a structural expert. Large areas of delamination, severe moisture damage, or historic plaster with decorative elements often require a plaster restoration specialist. A professional brings experience with traditional lime based plasters and can match textures and materials so repairs are unobtrusive and long lasting.
Cost and Time Considerations
Cost for plaster repair varies widely based on the size of the job, materials needed, and whether a professional is required. Small DIY repairs may take a few hours and cost a modest amount for compound and tools. Larger jobs that require multiple drying times and professional labor can span several days and cost substantially more. Always factor in primer and paint in your budget. Getting an estimate from a trusted contractor helps set realistic expectations for time and cost.
Preventive Measures to Reduce Future Repairs
Routine maintenance helps reduce the frequency of plaster repair. Keep gutters clear and ensure proper drainage around the structure to prevent moisture migration into walls. Maintain stable indoor humidity levels to limit movement of plaster. Address minor cracks promptly before they grow. When renovating, choose compatible materials and follow best practices for plaster patching to avoid issues down the line.
Conclusion
Plaster repair is a common and rewarding home maintenance task that preserves the look and function of interior surfaces. With the right assessment, materials, and care you can handle many repairs yourself. For complex issues seek an experienced professional to ensure a lasting result. For more detailed how to articles and guides on related fixing topics explore the resources available at the home repair portal fixolix.com and find recommended products at Zoopora.com. Proper repair and preventive care will keep walls and ceilings looking great for years to come.