

Roof Truss Design: Essential Guide for Builders and DIYers
Roof truss design is a core skill for architects builders and homeowners who want a durable efficient roof structure. A properly planned roof truss system provides even load distribution improves material efficiency and simplifies installation. This guide covers fundamentals types design principles and practical tips to help you choose or design a truss that meets structural needs local code and budget constraints.
What is a roof truss and why it matters
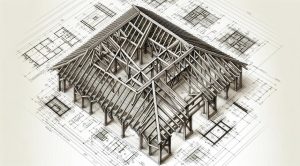
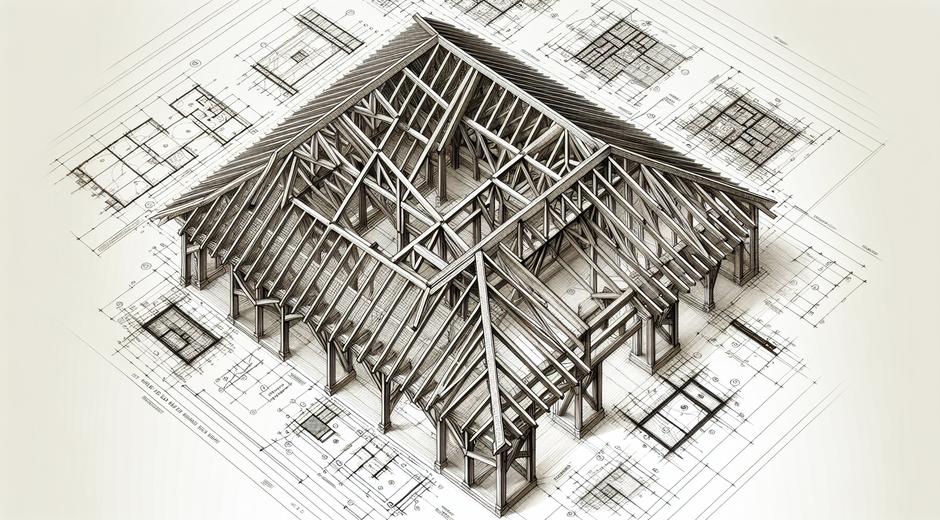
A roof truss is a prefabricated structural assembly that supports the roof covering and transfers loads to the walls and foundation. Trusses are typically made from timber or steel and are arranged in triangular patterns to provide stability and strength. Good roof truss design reduces deflection resists wind and snow loads and allows open interior spaces without intermediate supports. When planning a project it helps to understand truss behavior to optimize span material use and roof pitch.
Key components of a truss
Understanding the parts of a truss helps explain how forces are carried. Common components include top chords bottom chords and web members. The top chord forms the slope and carries compressive forces under roof loads. The bottom chord acts as a tie in tension preventing the walls from spreading. Web members form the internal triangular patterns and transfer loads between chords. Connections are crucial and must be designed to carry shear and axial loads using metal plates bolts or nails depending on material and code requirements.
Common types of roof truss
Several truss forms are widely used depending on span roof slope and interior layout. Basic types include king post truss queen post truss and fink truss. A king post truss is simple and suitable for short spans while a fink truss is economical for medium spans because of efficient web arrangements. Scissor trusses provide vaulted ceilings and allow open interior spaces. Gambrel and hip trusses are used for specific roof shapes. Selecting the right type requires balancing span material efficiency and the desired interior profile.
Load considerations in roof truss design
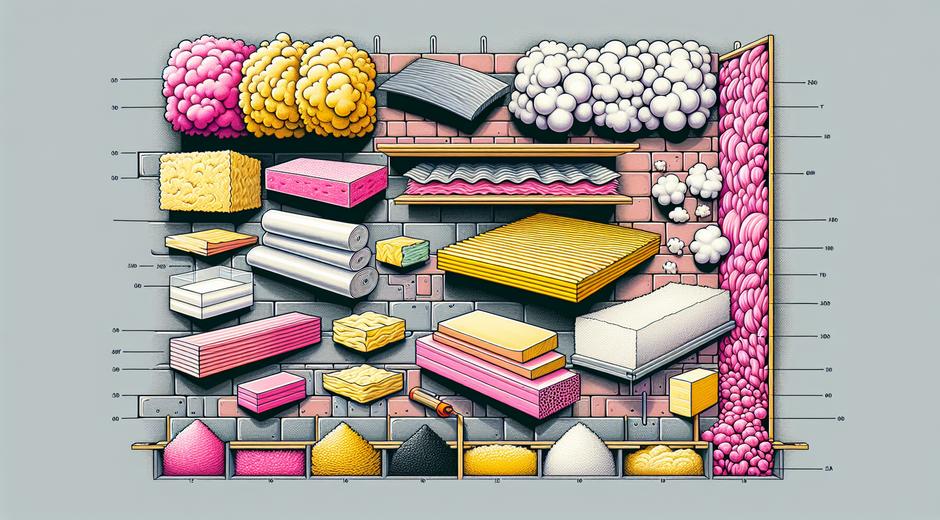
Accurate load assessment is central to safe truss design. You must consider dead loads which include the weight of the roofing materials insulation and truss members. Live loads from maintenance access and temporary loads are usually lower for roofs but must be accounted for. Environmental loads such as snow and wind often govern design in many regions. Snow load depends on local climate and roof slope while wind load varies with exposure height and local terrain. Complying with local building code ensures required load combinations are used for design checks.
Materials and connection choices
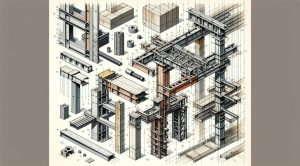
Timber and steel are the primary materials for roof trusses. Timber is commonly used for residential projects because it is cost effective and easy to work with. Engineered timber members such as laminated or glued laminated sections offer higher strength and reduced variability. Steel trusses are preferred for long spans industrial buildings and where fire resistance is a priority. Connection methods vary by material. Metal connector plates are common in timber trusses while bolted and welded connections are used in steel frames. Proper connection design prevents localized failure and ensures load paths are continuous.
Design process step by step
Designing a roof truss requires a sequence of considered steps. Begin with defining the design criteria such as span roof pitch supported loads and any architectural constraints. Next select a truss configuration that matches those criteria. Perform structural analysis to determine axial forces in each member under relevant load cases. For timber trusses standard allowable stresses and section properties are used to size members. For steel trusses section selection considers yield strength and buckling resistance. Check serviceability limits to ensure deflection under service loads is acceptable. Finally detail connection hardware and specify fabrication tolerances so the assembled truss fits the site conditions.
Spacing and pitch decisions
Truss spacing is an important design choice that impacts roofing costs and ceiling support. Typical spacing ranges depend on span and loading but common centers are 400 mm 600 mm or 1200 mm in metric units. Closer spacing reduces load per truss allowing smaller members while wider spacing can save materials but may increase roof deck requirements. Roof pitch influences water shedding ventilation and aesthetic. A steeper pitch sheds snow faster but may increase wind uplift forces. Choose a pitch that balances local climate cost and the intended look of the structure.
Manufacturing and quality control
Prefabrication of trusses in a controlled factory environment improves quality reduces waste and accelerates on site assembly. Factory production allows precision cutting accurate connector plate placement and consistent member grading. Inspectors should confirm that materials match specified grades connectors are properly installed and member lengths and angles conform to design drawings. On site storage and handling also affect truss performance. Keep trusses dry supported evenly and protected from impact to prevent damage before installation.
Installation best practices
Safe and accurate installation extends truss life and maintains design assumptions. Erect trusses in sequence following temporary bracing patterns to prevent overturning during installation. Temporary bracing holds members in position until permanent roofing and bracing elements are installed. Ensure fasteners are driven in the correct positions and that nail plate teeth fully penetrate timber members. Once the roof deck and bracing are in place check that the assembled truss system is plumb and level and that joints are snug. Correcting misalignment early avoids costly repairs later.
Common design mistakes to avoid
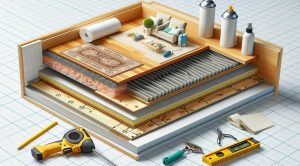
Avoid these frequent errors when working with roof truss design. First do not underestimate environmental loads especially snow and wind. Second avoid undersized connections because a strong member with a weak connection will fail. Third check for unintended changes in bearing conditions during construction such as cutting bearing walls which were assumed to support trusses. Finally ensure that ventilation and insulation details are coordinated with truss design to prevent condensation and thermal bridging issues inside the roof space.
Tools and resources for learning
If you want to deepen your knowledge there are guides and online courses that explain structural behavior calculation methods and software tutorials. For general fixing and construction how to guides visit fixolix.com where you will find practical articles and step by step instructions that pair well with technical truss design information. For more formal study on structural principles consider course material and tutorials available at StudySkillUP.com which covers theory and calculation techniques useful for designers and engineers.
Conclusion
A strong roof truss design balances structural safety material efficiency and constructability. By understanding component roles load paths and appropriate material choices you can design or select trusses that meet project demands and comply with codes. Use a systematic design process verify connections account for local loading conditions and follow quality controlled fabrication and installation practices. With careful planning a well designed truss system delivers a reliable long term roof that supports your building goals.