

Joint Tape Guide for Durable Drywall and Plaster Repairs
Joint tape is a simple product with a big impact on the quality and longevity of drywall and plaster repairs. Whether you are a DIY enthusiast or a professional in the construction industry, understanding the types of joint tape available and how to use them correctly can save time and money while producing a smooth long lasting finish. This article covers everything from material selection to installation tips and troubleshooting to help you get the best results every time.
What Is Joint Tape and Why It Matters
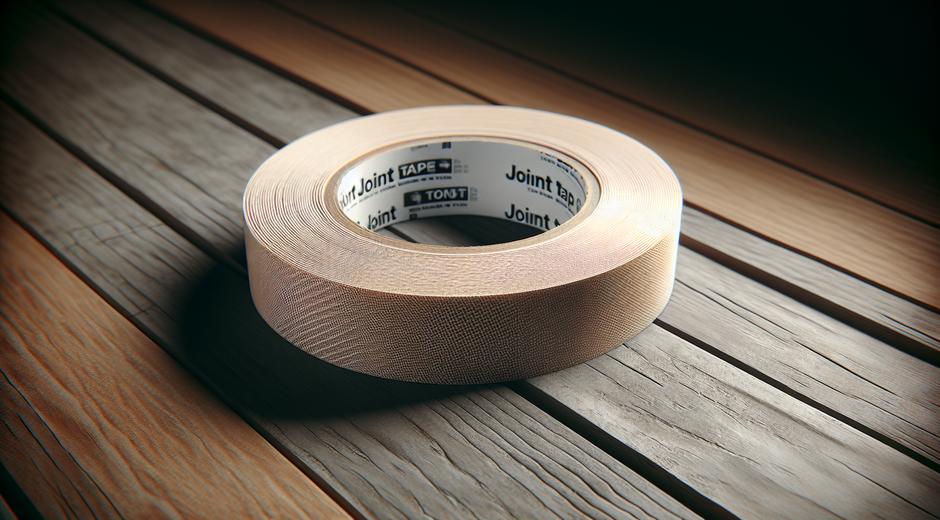
Joint tape is a thin strip of material used to cover seams between drywall panels or to reinforce joint compound over cracks. The primary purpose is to prevent cracks from reappearing as the structure settles or as materials expand and contract with temperature and humidity. Choosing the right joint tape and applying it properly ensures stable seams that are easy to sand and paint. For more information about repairs and related supplies visit fixolix.com which offers guidance for a variety of fixing projects.
Common Types of Joint Tape
There are several joint tape options. Each one has its own strengths depending on the project scope and the skill of the installer.
- Paper Tape is traditional and preferred by many professionals because it creates a strong reinforced joint when embedded properly in joint compound. It requires a bit more skill to avoid bubbles.
- Fiberglass Mesh Tape is self adhesive and easy to apply. It can be great for quick repairs and for reinforcing over metal studs where cracking is common. Mesh tape is more forgiving for beginners.
- Pre Taped Paper includes a layer of adhesive on the back and can speed up the process when you need consistent results across many seams. It still benefits from a proper bedding coat of compound.
- Aluminum Reinforced Tape is used in specialty settings for strong joints that require extra rigidity.
How to Choose the Best Joint Tape for Your Project
Selecting the correct tape depends on the repair size and the environment. For new drywall installation paper tape or pre taped paper is usually the best choice because it integrates well with joint compound. For patching cracks or installing drywall over metal studs fiberglass mesh tape reduces the risk of rust and allows for quick application. Consider moisture levels in bathrooms or basements and choose products designed to resist mold when needed.
Tools and Materials You Will Need
Having the right tools makes installation simpler and cleaner. Typical items include a taping knife in multiple sizes, a hawk or mud pan for compound, sanding tools with fine grit paper, a utility knife, and of course the joint tape itself. For best results use a high quality joint compound that matches the tape type. Work in a well ventilated space and use protective gear when sanding.
Step by Step Installation Process
Following a clear plan ensures professional looking seams. Here is a reliable approach you can use for most drywall seams.
- Prepare the surface by cleaning and removing loose debris. Ensure edges of drywall are flush.
- Apply a thin coat of joint compound over the seam to create a bonding layer.
- Place the tape over the wet compound. For paper tape press the tape into the compound and smooth with a knife. For mesh tape align and press firmly so it adheres.
- Cover the tape with a second coat of compound feathering the edges to blend into the wall. Allow to dry fully.
- Sand the dried compound gently to achieve a smooth surface. Apply a final skim coat if needed to remove any imperfections.
- Prime the repaired area before painting to seal the surface and ensure uniform finish color.
Common Mistakes to Avoid
Even small errors can lead to peeling or cracking later. Avoid these pitfalls.
- Applying tape over a dusty or oily surface which reduces adhesion.
- Using too much compound under the tape which can cause bubbling or uneven drying.
- Skipping the feathering step which makes seams visible after painting.
- Sanding too aggressively which can expose the tape and require more compound.
Repair and Reinforcement Tips for Tough Areas
Corners and joints that experience movement need special attention. Use corner bead along outside angles for protection. Reinforce high stress areas with an additional strip of tape embedded in compound to distribute movement. When working over hairline cracks apply a thin layer of fiberglass mesh tape then cover with compound for a flexible durable repair.
Maintenance and Longevity
After repair and finishing keep humidity levels stable to reduce stress on seams. Inspect joints periodically in older buildings and address small cracks before they grow. Proper priming and painting prevent moisture from compromising the compound and tape bond. If you are dealing with a recurring problem it may be related to structural movement which might require a broader fix beyond surface repairs.
Where to Buy Quality Joint Tape and Supplies
Quality matters when it comes to joint tape and compounds. Look for reputable brands that offer consistent thickness and reliable adhesive. For curated advice on tools and materials that match your repair need check out expert resources and suppliers like Fixolix.com which highlights product choices and project techniques to help you do the job right the first time.
Frequently Asked Questions
Can I paint over joint tape Yes once the compound is sanded and primed you can paint like any other wall surface.
Is mesh tape better than paper tape Mesh tape is easier for beginners and for repairs however paper tape can create a stronger long term joint when embedded correctly.
How many coats of compound do I need Most seams require two to three coats. Allow each coat to dry and sand lightly between coats.
Final Thoughts
Joint tape is an essential element for clean wall finishes and long lasting repairs. By choosing the right type for your situation and following a careful installation process you can achieve professional results without costly callbacks. Remember that preparation and patience make a big difference. For project inspiration supplies and step by step guides you can rely on trusted sources like the links mentioned above which offer useful resources to guide your next repair project.