

Wall Anchors Complete Guide for Strong and Lasting Fixings
Wall anchors are an essential component in any fixing project. Whether you are hanging a picture frame a heavy shelf or a mirror wall anchors provide the grip you need in a variety of materials. This guide covers types choosing tips installation steps safety advice and maintenance so you can achieve a secure and professional result every time.
Why Wall Anchors Matter
Many people underestimate the difference that a proper anchor makes. A screw alone can pull out of drywall or crumble in masonry material leaving damage and causing accidents. Wall anchors distribute load reduce stress on the base material and allow fixings in places where a raw screw would fail. Using the right anchor increases load capacity and extends the life of your fixing.
For readers who want a central resource for home repair and fixing category guides visit fixolix.com where we collect step by step tutorials and product advice for every room and surface.
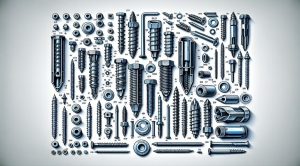
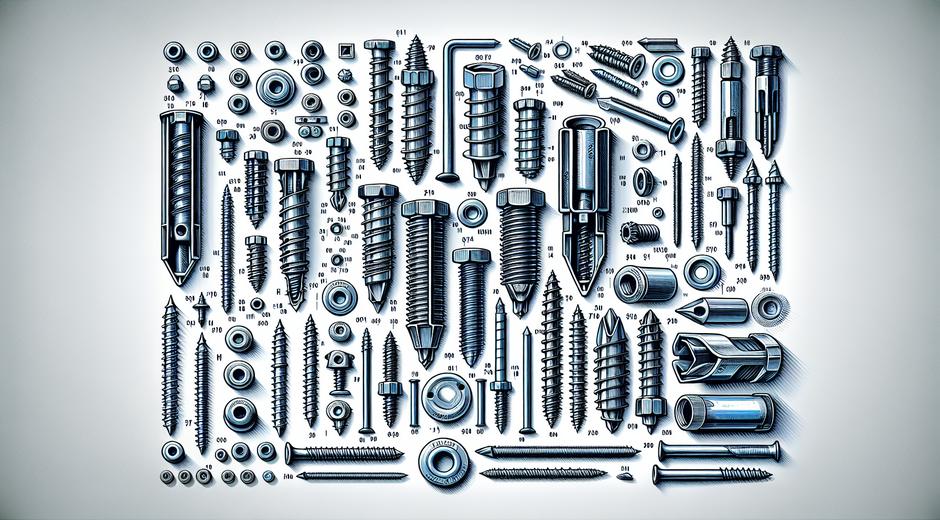
Common Types of Wall Anchors and Where to Use Them
Understanding the main types helps you choose the right anchor for the material and load. Below are the most widely used anchor types and the typical applications for each.
Plastic Expansion Anchors are low cost and easy to install. They work best in drywall plaster and light masonry. They expand as a screw is driven in creating friction that holds the screw in place. Use these for lightweight items like picture frames small shelves or curtain fittings.
Self Drilling Anchors are sometimes called threaded anchors. They are designed for drywall and require no pre drilling. You screw them directly into the wall and then insert the fixing screw. These anchors are ideal for medium loads such as towel rails small cabinets or wall lamps.
Toggle Anchors consist of a spring loaded metal wing that opens behind a hollow wall distributing load over a wide area. They are often used for heavier items on drywall such as large shelves television brackets or heavy mirrors. Installation needs a larger hole but the holding strength is excellent.
Masonry Anchors and Sleeve Anchors are made for solid brick block and concrete. These anchors expand inside the drilled hole creating a secure mechanical bond. They are the choice for exterior fittings heavy storage systems and railings.
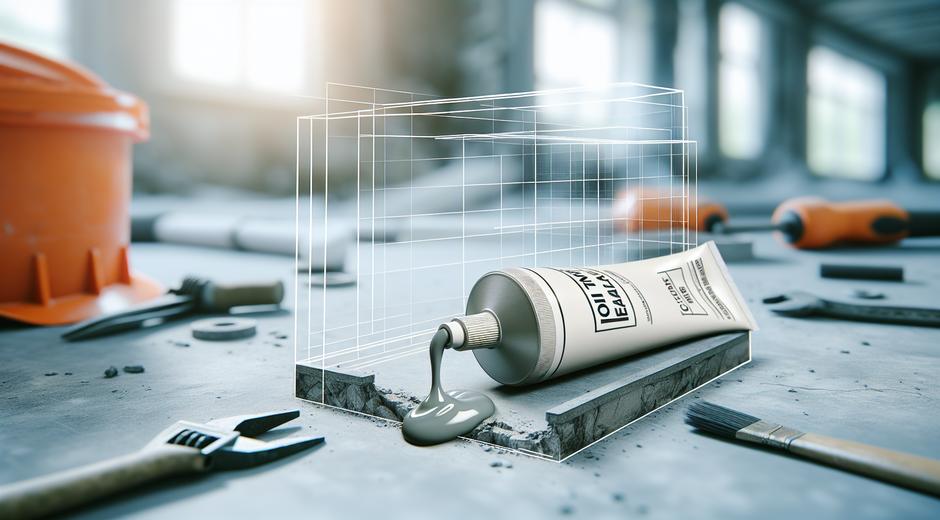
Chemical Anchors use resin or adhesive cartridges injected into drilled holes before inserting a threaded rod. They are used where maximum load and permanent fixing are required such as structural supports and safety systems.
How to Choose the Right Wall Anchor
Choosing the right anchor depends on three factors weight of the load base material and installation skill. First estimate the total load including dynamic forces caused by movement. Always allow a safety margin and use anchors rated above the expected load.
Identify the material you will fix into. Drywall requires different anchors than solid brick or plaster board. For hollow walls choose toggle style or self drilling anchors. For solid material choose masonry sleeve anchors or chemical anchors. When in doubt consult manufacturer load charts or seek advice from a professional.
Consider the environment. Corrosive conditions such as bathrooms or outdoor exposure need stainless steel or coated anchors to resist rust. Think about future removals. Some anchors are removable leaving small holes while others are permanent and require patching when removed.
Tools and Preparations Before You Start
Good preparation saves time and improves safety. Gather the correct drill bits anchors screws and protective equipment. A stud finder helps locate wooden studs behind plaster or drywall which often allow the use of simple wood screws without anchors. Mark your drill points using a level to ensure accurate placement.
Measure twice and drill once. When using masonry anchors choose the correct bit size and drill a clean hole. For hollow wall anchors ensure the hole size matches the anchor specification to allow proper expansion or deployment of the anchor wings.
Step by Step Installation Guide for Common Wall Anchors
Follow these general steps which apply to most anchor types while checking the manufacturer instructions for specific variations.
1. Mark the fixing point and confirm the location is free from wiring and plumbing. Use a detector to reduce risk.
2. Select the correct drill bit. For drywall anchors you may not need a pilot hole when using self drilling models. For masonry use a hammer drill with a carbide bit sized to the anchor diameter.
3. Drill the hole to the correct depth and clean out dust using a brush or vacuum.
4. Insert the anchor. Plastic anchors push in until flush. For masonry anchors tap gently until fully inserted. Toggle anchors need the wings to be folded and passed through the hole then allowed to open behind the wall.
5. Drive in the screw slowly until snug. Do not over tighten as this can strip the anchor or damage the wall. For heavy items check the anchor position and tighten in stages so load is evenly distributed.
Safety Tips and Common Mistakes to Avoid
Many installation failures are preventable. Avoid these common mistakes to keep fixings secure and safe.
Do not assume any anchor suits all materials. Using a hollow wall anchor in solid brick will fail. Do not over tighten screws. Excessive torque can split anchors or crush the surrounding material. Do not rely on a single anchor for heavy loads. Use multiple anchors and distribute weight across studs and solid areas.
Always check for hidden hazards before drilling. Use protective eyewear and gloves and secure ladders and scaffolds when working at height. If you see crumbling material or suspect structural problems stop and seek professional advice.
Maintenance and Inspection for Long Term Performance
After installation inspect fixings after a period of regular use. Tighten screws if they have loosened but avoid over tightening. Look for signs of fatigue such as cracked plaster deformation around the anchor or any movement of the item fixed to the wall.
Periodic checks are especially important in high vibration areas such as near doors or where frequent loading occurs. Replace any anchor that shows signs of corrosion or wear. For outdoor fixings choose corrosion resistant materials and seal around the hole to prevent water ingress.
Advanced Tips for Professionals and Enthusiasts
For higher loads consider using multiple anchor types in combination for redundancy. Chemical anchors combined with mechanical anchors offer superb load capacity in critical applications. Torque controlled tools help avoid damaging anchors while ensuring consistent clamping force.
If you are planning a renovation keep a log of anchor types and locations. This record helps future owners or tradespeople understand where structural fixings were placed reducing the risk of accidental damage when drilling new holes.
For readers interested in developing better focus and planning skills that help during precise installation tasks visit FocusMindFlow.com for tools and methods to improve concentration reduce errors and boost productivity during home projects.
Conclusion
Wall anchors may seem small yet they play a major role in the safety and durability of your fixings. Choosing the right type preparing the site using correct tools and following the proper installation steps will ensure your items remain secure and your walls stay intact. Use this guide as a reference consult manufacturer data and when needed seek professional help for complex projects. With the right approach you can achieve strong lasting fixings in any material.