

Window Flashing Guide for Lasting Water Protection
What is Window Flashing and Why It Matters
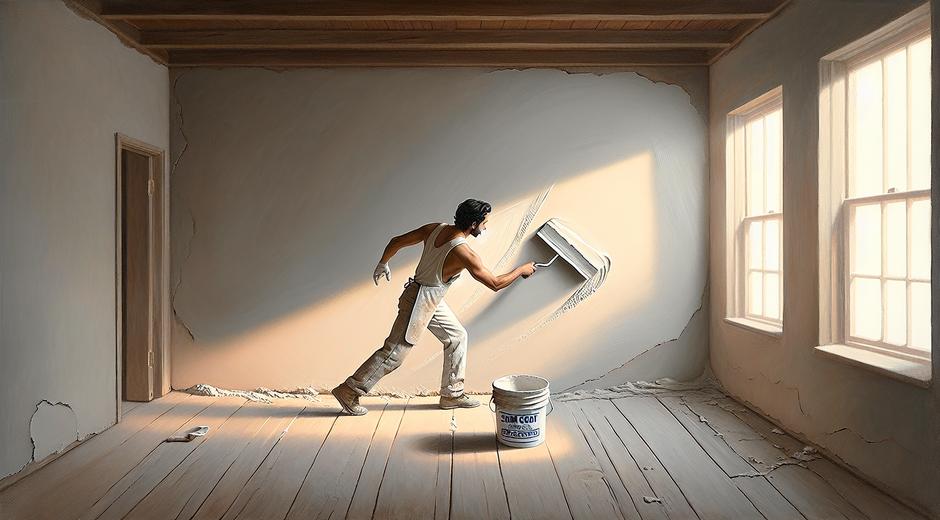
Window Flashing is a thin layer of material that directs water away from window openings and prevents water intrusion into walls. Proper Window Flashing stops leaks that can damage insulation framing and interior finishes. For homeowners contractors and maintenance teams understanding Window Flashing can save time money and prevent mold growth.
Common Types of Window Flashing Materials
There are several materials used for Window Flashing. Each one has strengths and ideal uses depending on the climate building type and installation method.
First is metal flashing. Metal flashing often uses aluminum or copper. Metal is durable and works well in areas with strong sun exposure or heavy rainfall. Another popular choice is fluid applied flashing. This liquid cures into a seamless membrane that conforms to irregular surfaces. Peel and stick flashing is a self adhesive option that is quick to install and works well around unit windows and new construction.
Flexible flashing tapes made from butyl or rubberized asphalt offer strong adhesion to common building surfaces. And there are fabric reinforced membranes for complex openings. Choosing the right material helps ensure Window Flashing performs for many years.
Where to Use Window Flashing
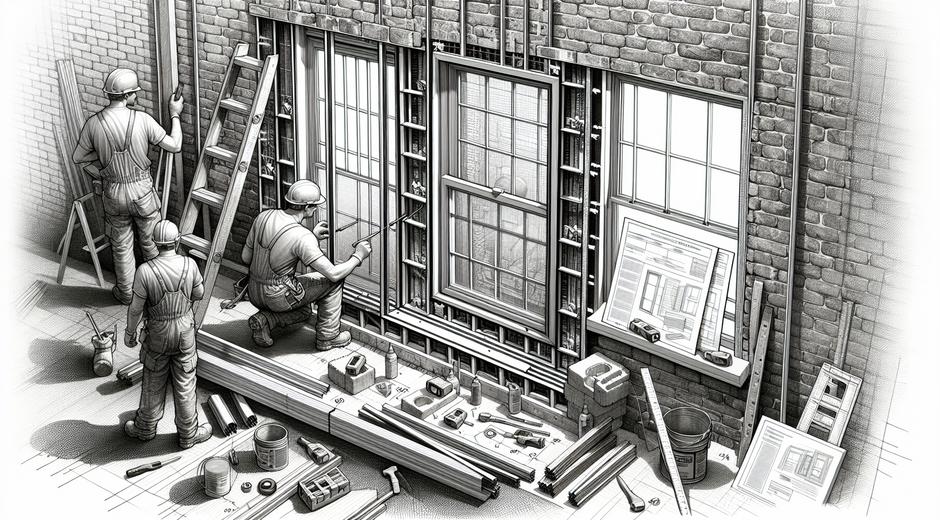
Window Flashing belongs at every part of a window opening where water can collect or travel. That includes the sill the jambs and the head. Base flashing at the sill is essential because water that reaches the sill must be directed back outside. Head flashing prevents water from entering above the window. Jamb flashing seals the sides and connects sill and head flashing to make a continuous barrier.
In retrofit projects flashing must be integrated with existing siding and trim. In new construction flashing should be installed in sequence with the weather barrier and window manufacturer’s instructions.
Basic Window Flashing Installation Steps
Proper installation is as important as product choice. Below is a clear and practical approach.
First remove old material and prepare the opening. The surface must be clean dry and free of loose paint or debris. Next apply sill flashing. If using a peel and stick product apply it into the sill pan ensuring it extends up the jambs. If using a fluid membrane apply it in a continuous coat to create a pan that collects water.
Third set the window unit and secure it according to the manufacturer instructions. After the window is in place apply jamb flashing to tie into the sill flashing. Then apply head flashing overlapping the jamb layers so water flows out and away from the opening. Finally install trim and sealant. Use high quality sealant at the gaps that cannot be covered by flashing.
Step by Step Tips for a Reliable Flashing Job
Take time to plan each step. Measure carefully and cut flashing materials with straight edges for better adhesion. When using tapes press them firmly and smooth out any bubbles. Allow fluid applied products to cure for the recommended time before exposing them to weather.
A tight integration between the window the weather barrier and the flashing greatly reduces air and water leaks. Always follow the window manufacturer guidelines to keep the warranty valid and to ensure performance.
Common Window Flashing Problems and How to Fix Them
Even with good materials problems can occur if installation is poor or maintenance is ignored. The most common issue is flashing that does not form a continuous barrier. Gaps in flashing allow water to bypass the system and enter wall cavities.
Another issue is poor adhesion due to dirty surfaces or low quality tapes. In freezing climates improper slope at the sill can allow ice to form and cause water to back up. Over time UV exposure can also degrade some products which is why choosing UV resistant materials for exposed locations is important.
To repair flashing failures remove the damaged area clean the surface and replace with new material. For wide area damage consider installing a new integrated flashing system that ties into the cladding and the weather barrier.
Maintenance and Inspection of Window Flashing
Regular inspection helps catch problems early. Inspect Window Flashing at least once a year and after major storms. Look for loose tape cracks in sealant and signs of water staining on interior walls. If you notice peeling flashing or soft wood at the sill act quickly to remove and replace the damaged material.
Maintain surrounding caulking and trim to reduce direct exposure of flashing to UV and mechanical wear. Simple upkeep often avoids costly repairs later.
Tools and Materials You Will Need
A basic toolkit makes Window Flashing work more efficient. You will need a utility knife a measuring tape a roller for pressing tapes a caulking gun and quality sealant. For metal flashing basic metal snips and fasteners are required. For fluid membranes use brushes or rollers recommended by the manufacturer to apply a smooth uniform coat.
Cost Considerations and Value
Costs for Window Flashing vary by material and labor. Peel and stick products are often mid price while metal and fluid systems can be higher. While replacing flashing adds to upfront costs the long term value is clear. Proper Window Flashing prevents structural damage and reduces the risk of mold and interior finish replacement. That makes it a cost effective investment for any renovation or new build.
Choosing a Professional or Doing It Yourself
Some homeowners with basic construction skills can install Window Flashing for simple openings. However complex wall assemblies multi story jobs or historic renovations are best handled by a skilled contractor. Professionals bring experience in sequencing integration with weather barrier and ensuring building code compliance.
If you prefer to research products and guides start with trusted resources for tutorials and detailed instructions. For a central hub of repair and maintenance topics visit fixolix.com for clear practical guides to window repair and flashing techniques.
Finding Products and Materials
When buying materials check product specifications for adhesion compatibility UV resistance and warranty. Local building supply stores stock common flashing tapes and metal options. Specialty membranes and fluid applied products are available through select distributors and online retailers.
For trusted replacement parts and flashing kits consider suppliers that focus on window accessories and installation supplies. You can view a wide range of products and find links to vendors at Fixolix.com where product pages and buying advice help you select the right material for your project.
Conclusion
Window Flashing is a small element with a large impact. Correct material selection precise installation and ongoing maintenance keep water out protect building structure and extend the life of windows and finishes. Whether you do the work yourself or hire a professional a clear plan and attention to detail will ensure your windows remain watertight and energy efficient.